Create your first workspace and page | Rodeo Docs
A workspace is your team's home in Rodeo: every page, database and board you make lives in it, and everyone you invite shares it, so the first few minutes you spend setting it up pay off every day after.
Do it
Set up your workspace
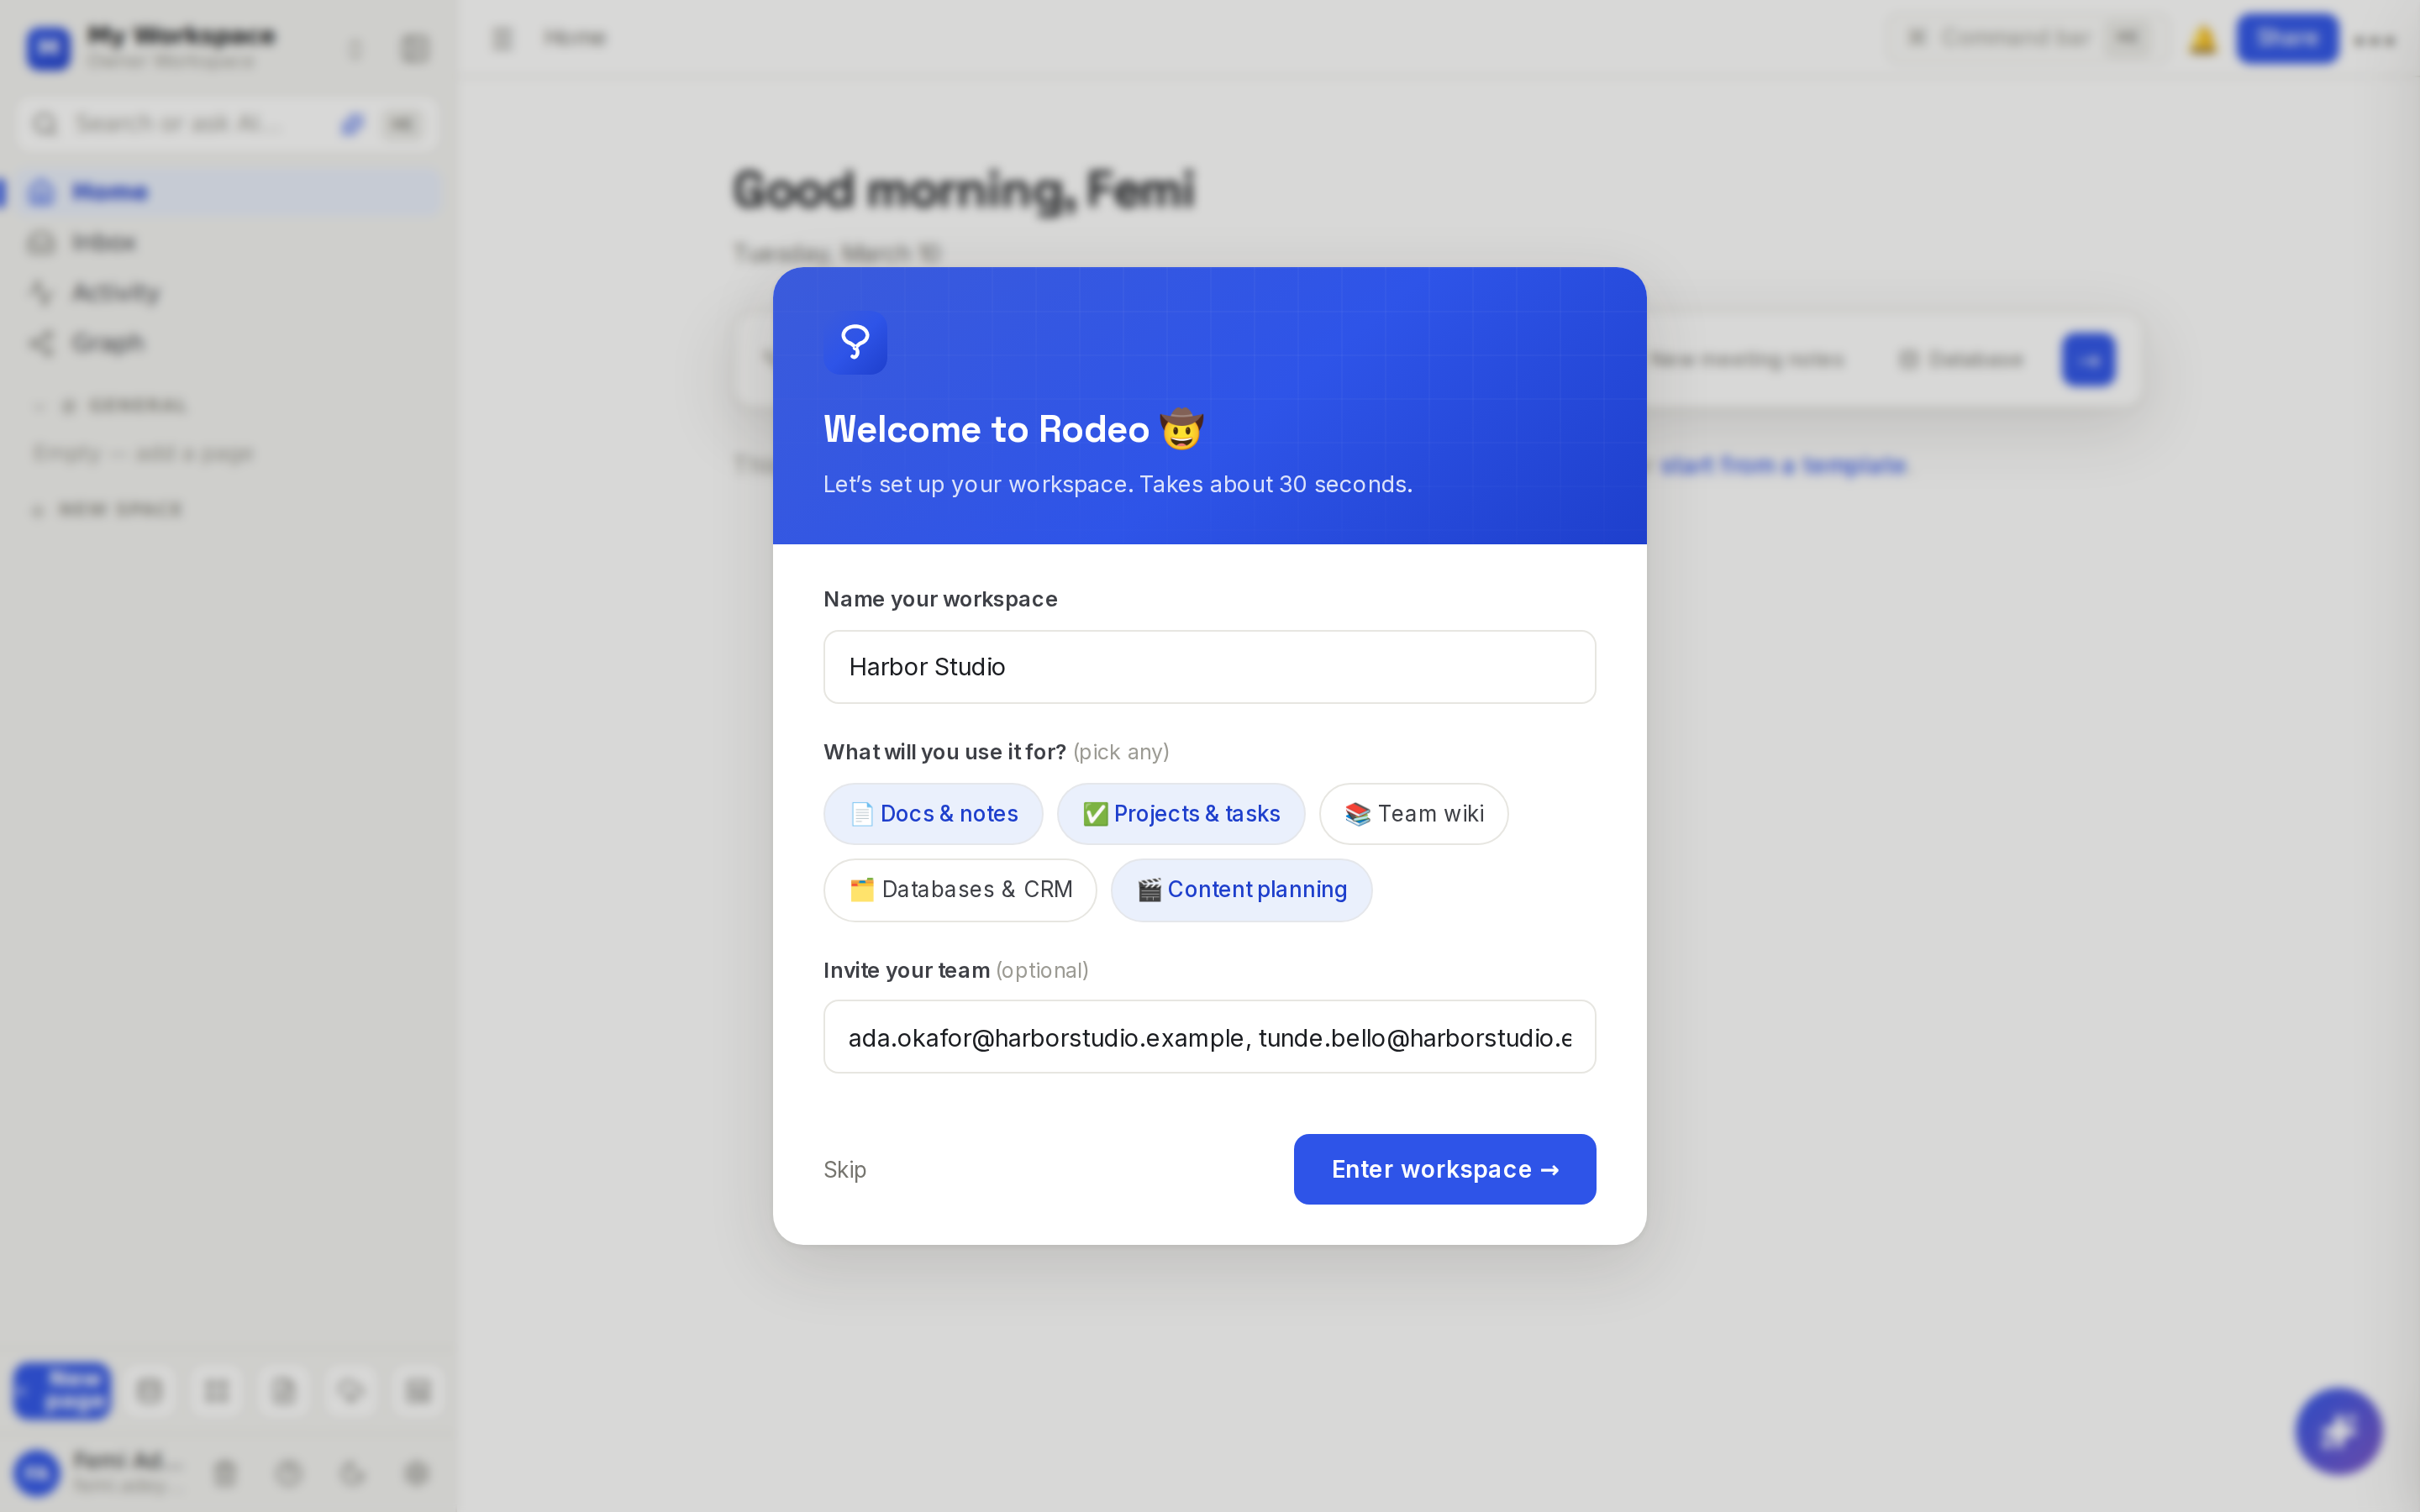
The first time you sign in, Rodeo creates a workspace for you and opens a short welcome, Welcome to Rodeo 🤠. It takes about 30 seconds.
Under Name your workspace, replace "My Workspace" with your team's or project's name, for example "Harbor Studio".
Under What will you use it for?, pick any that fit: 📄 Docs & notes, ✅ Projects & tasks, 📚 Team wiki, 🗂️ Databases & CRM or 🎬 Content planning.
Under Invite your team, type your teammates' email addresses, separated by commas. This is optional, and you can invite people any time later.
Click Enter workspace →. Rodeo saves the name and emails each person an invite to join as a member.
Not ready? Click Skip. You keep "My Workspace", and you can rename it later from Workspace settings in the workspace menu at the top of the sidebar.
If a teammate invited you before you signed up, you skip all of this: Rodeo takes you straight into their workspace.
Find your way around
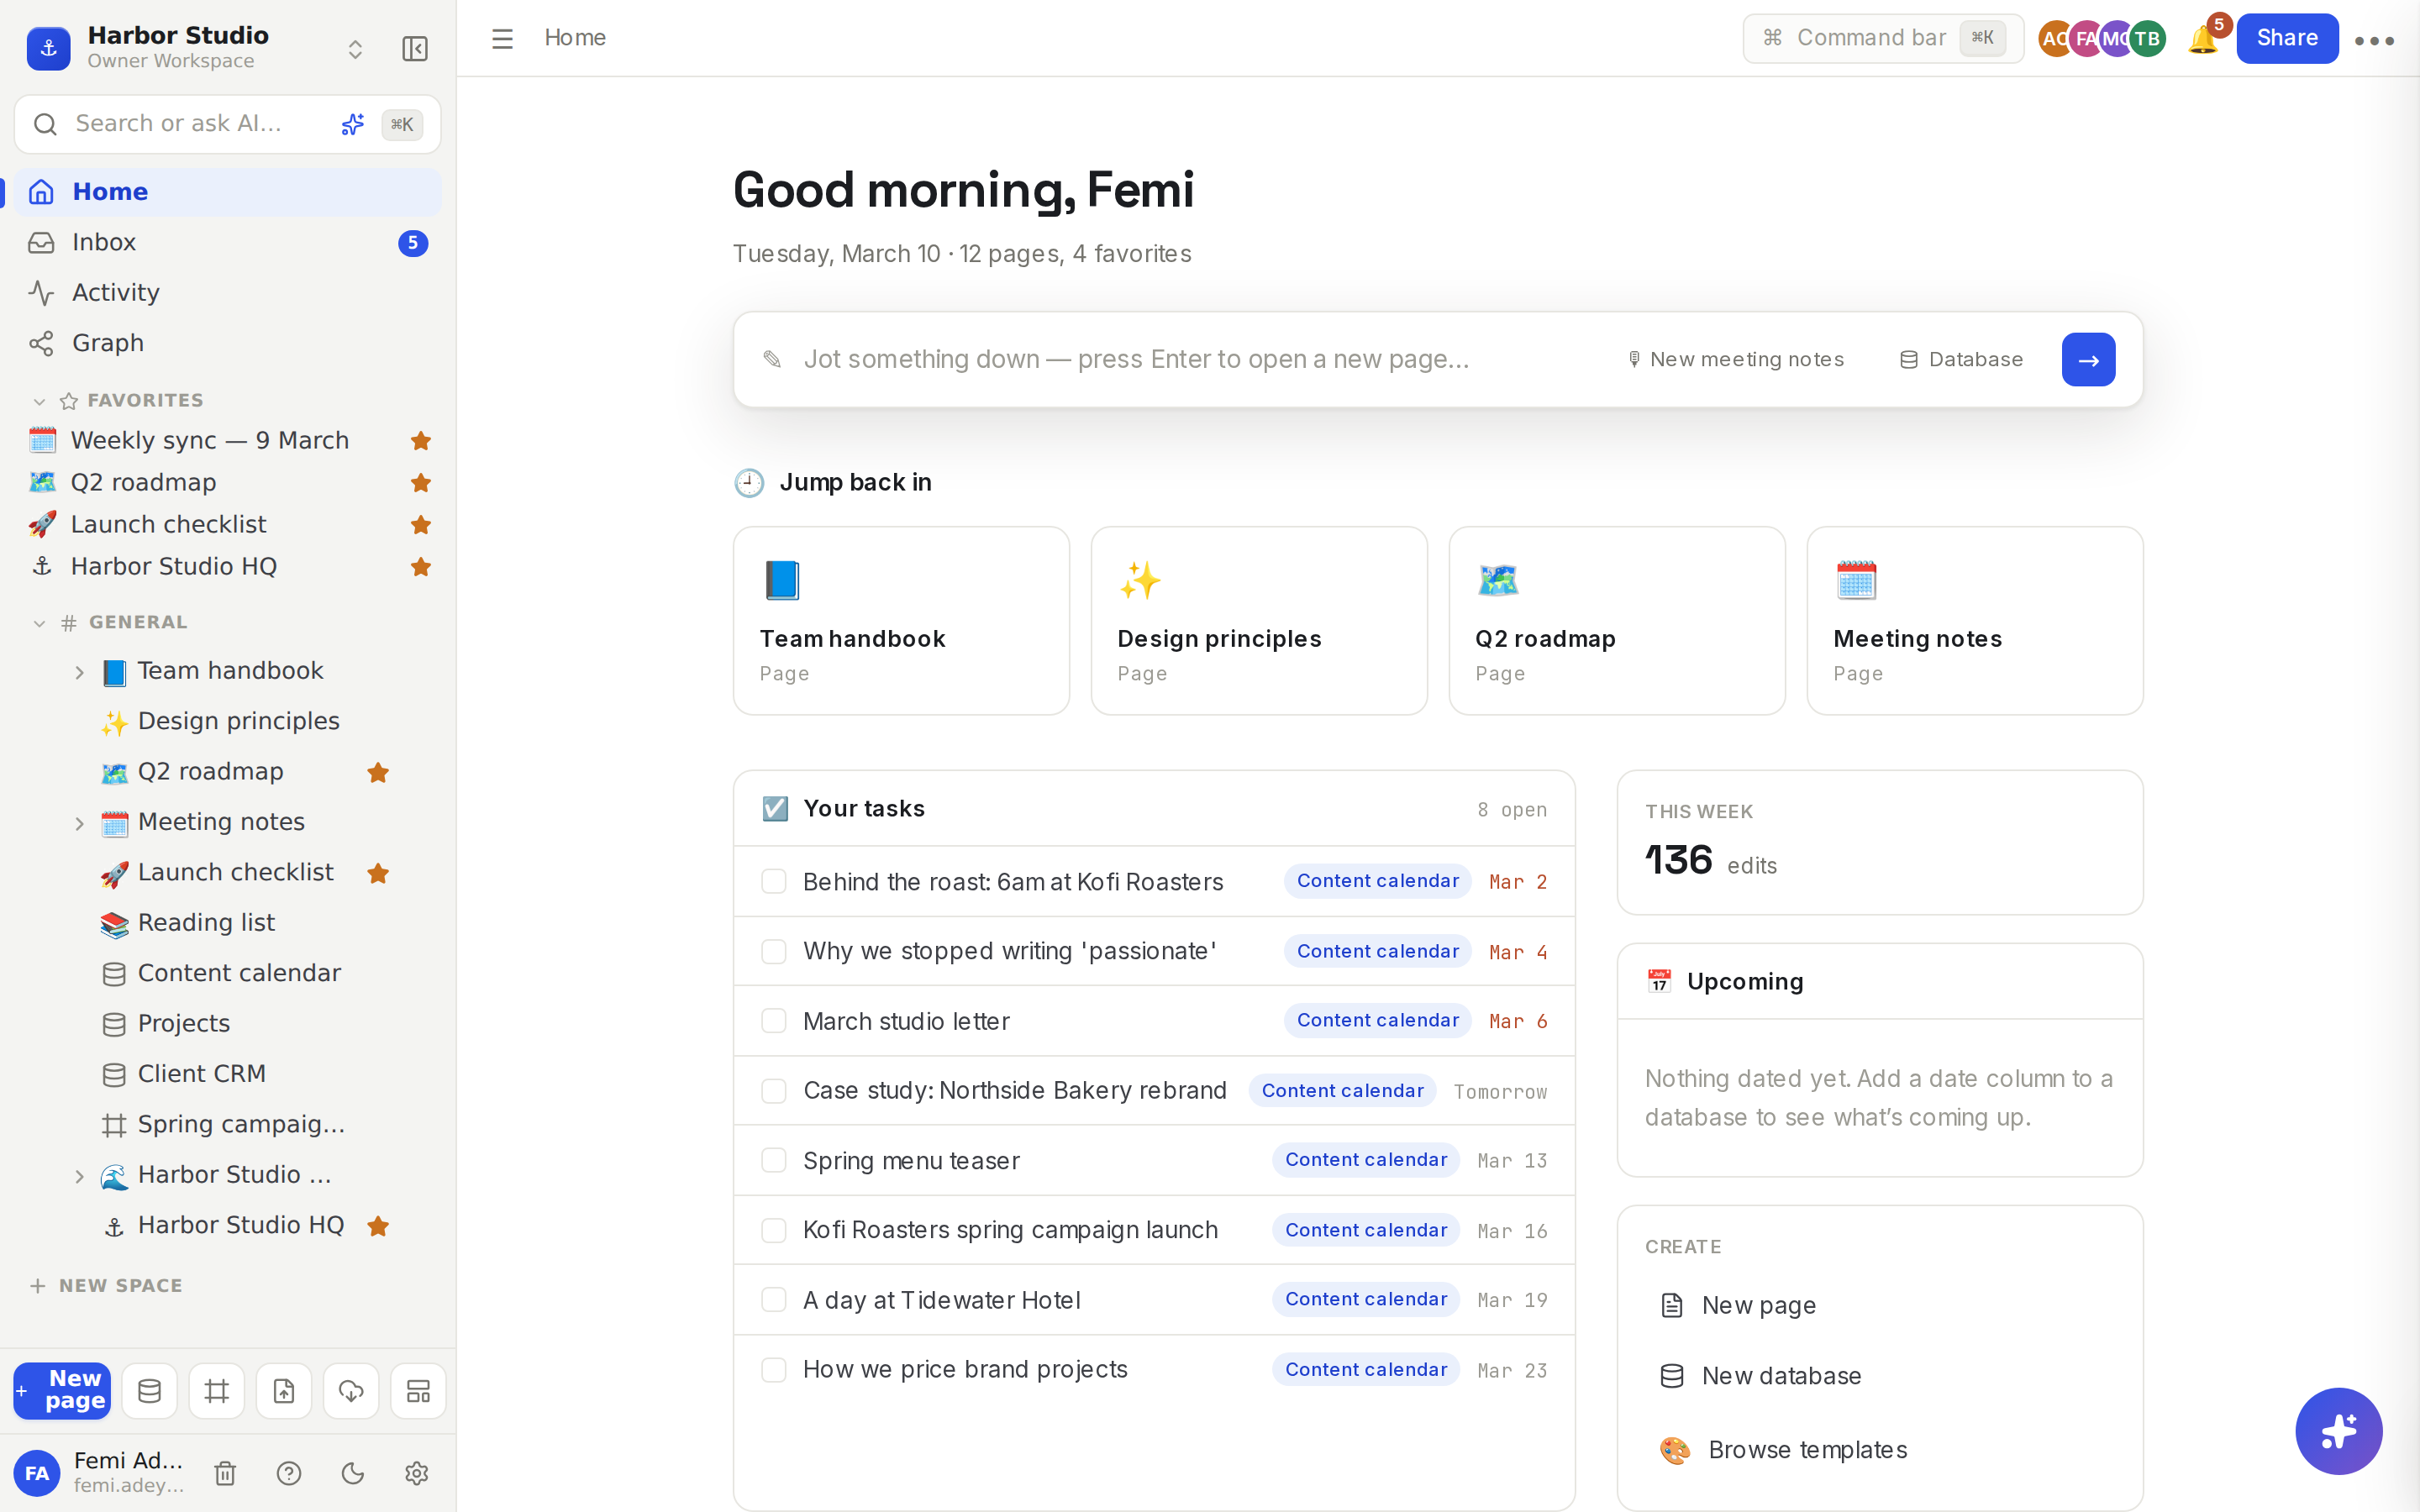
The sidebar on the left holds the workspace menu, Search or ask AI… (or press ⌘K), then Home, Inbox, Activity and Graph. Below them are your Favorites, Recent pages and your spaces with their pages. At the bottom are New page and buttons for a new database, a new board, imports and templates.
Home is your dashboard. It greets you, lets you jot something down, and shows Jump back in, Your tasks, This week and Upcoming.
The editor in the middle shows the page you've opened.
Create your first page
Click New page at the bottom of the sidebar. You can also type a title into the bar on Home and press Enter, or click New page under Create.
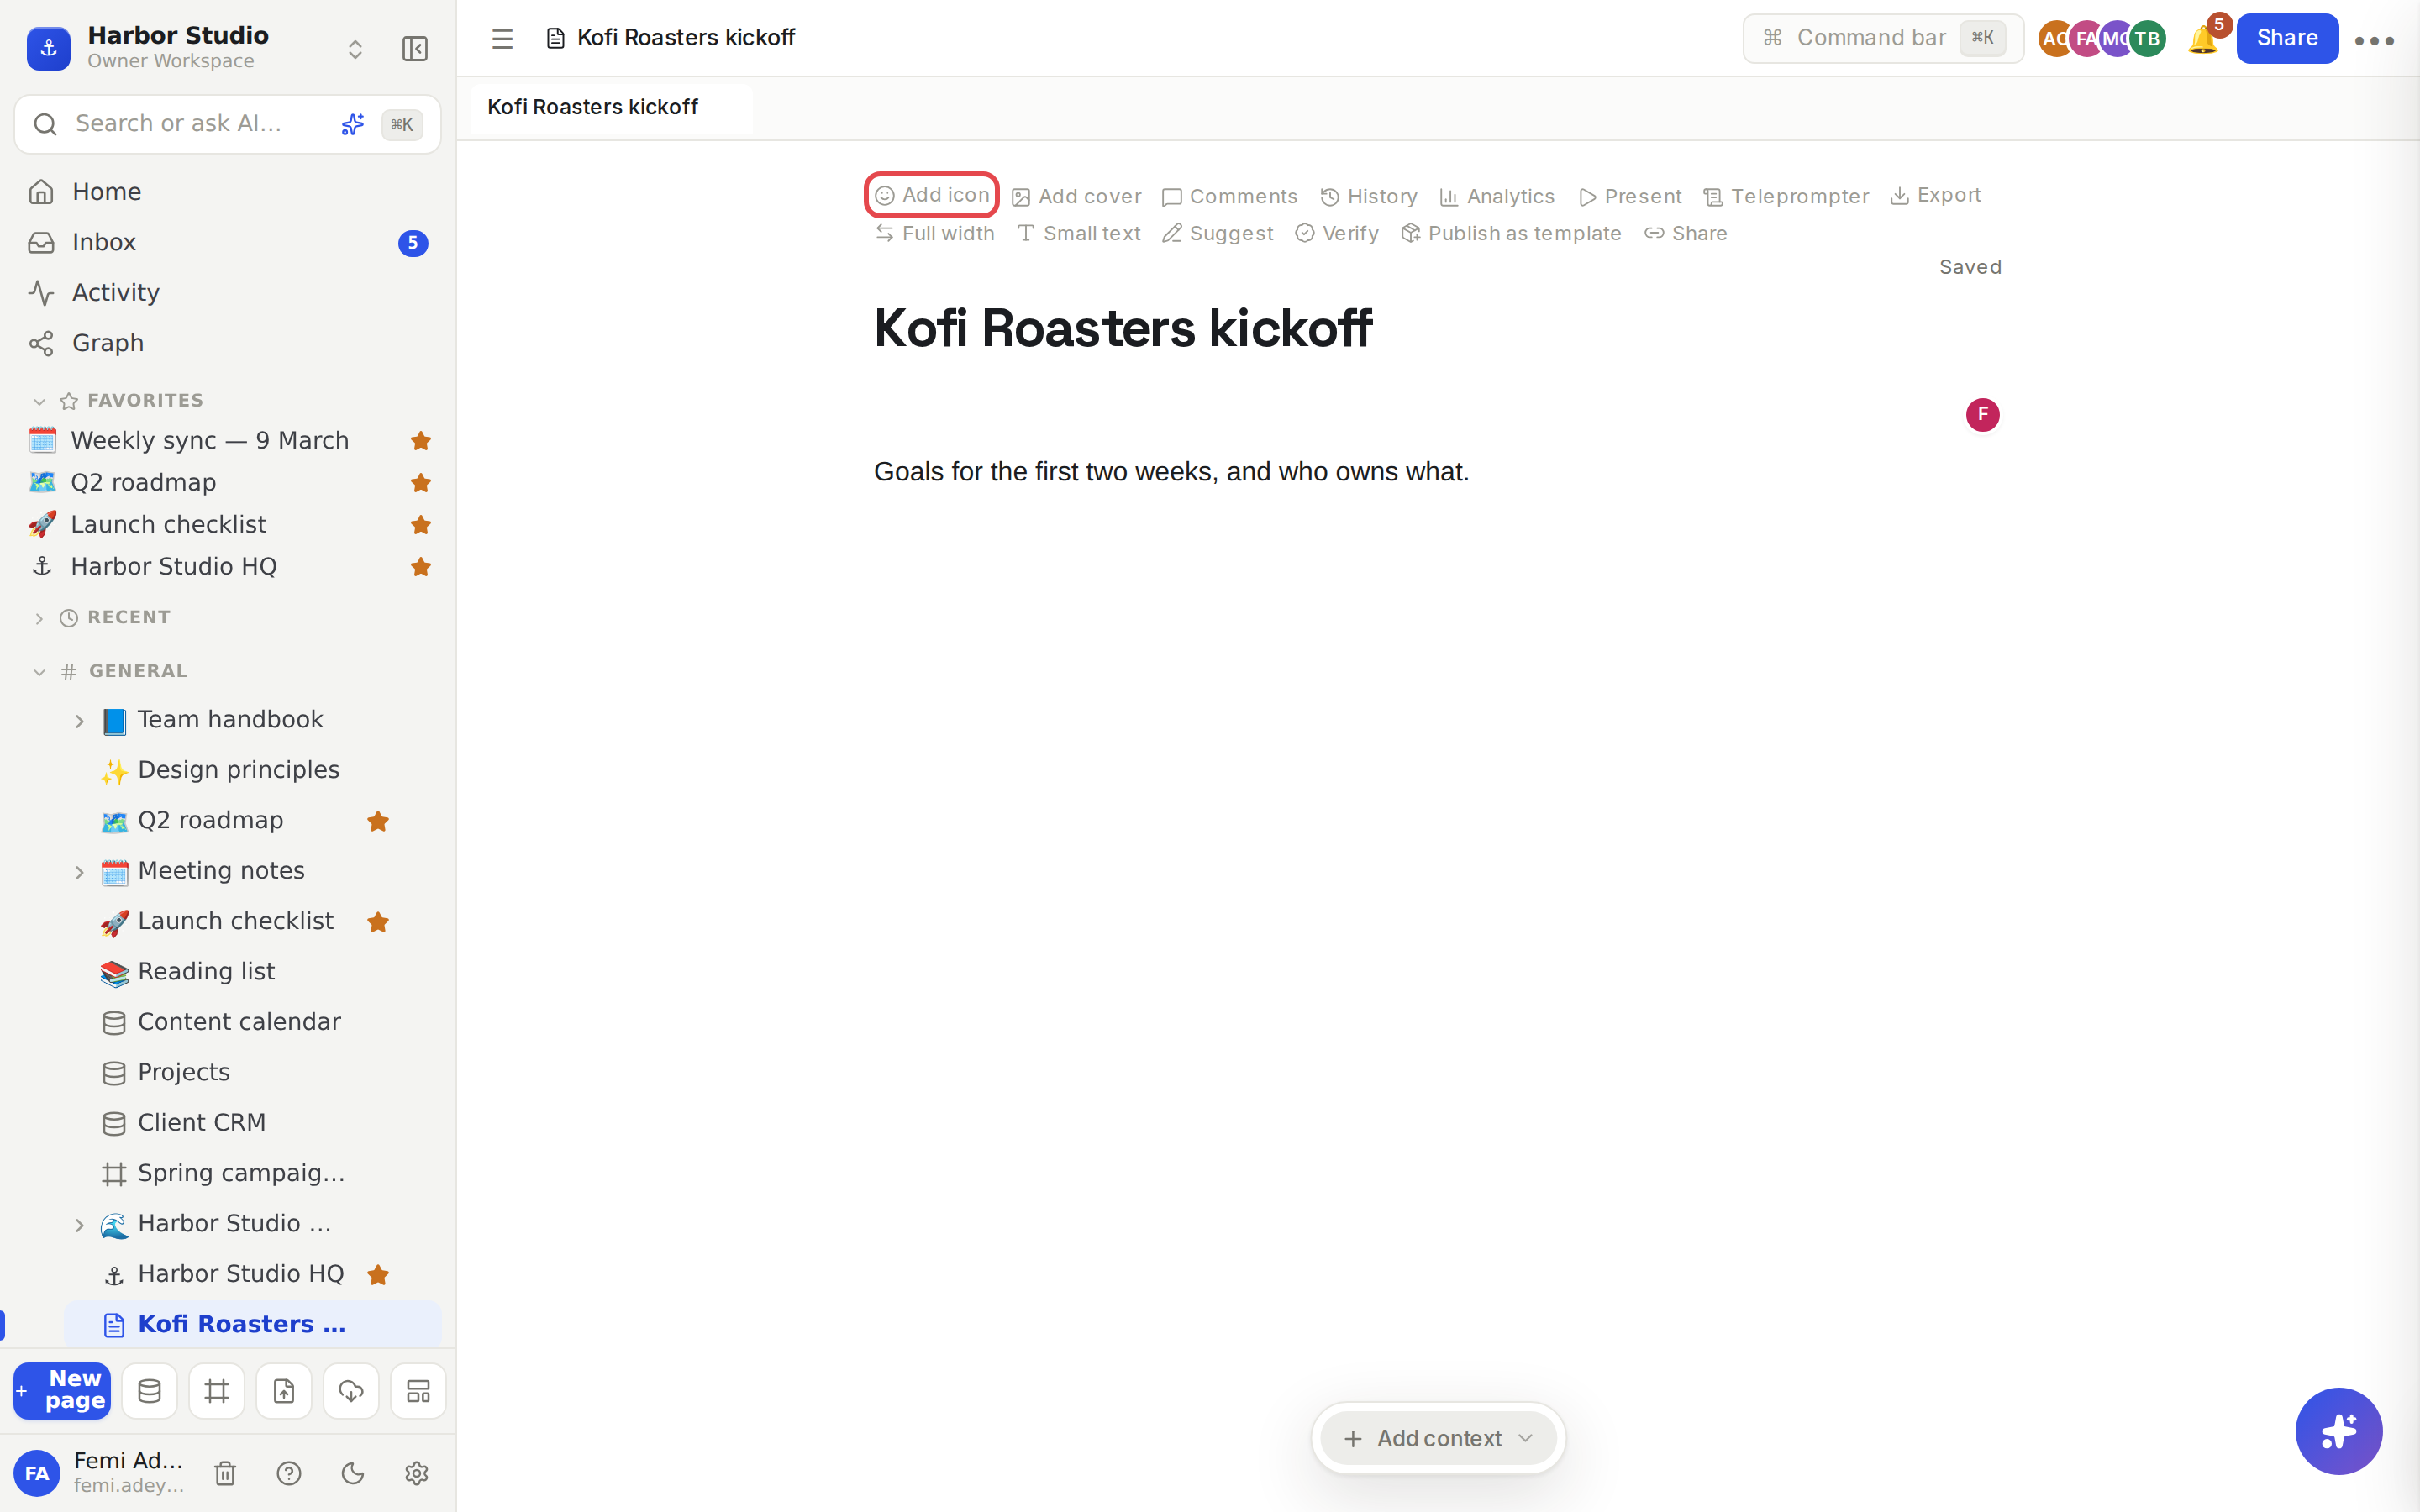
Type a title where it says Untitled and press Enter. Then click the line below, which says "Enter text or type '/' for commands", and start writing.
Hover over the title and click Add icon to give the page an emoji, or Add cover for a banner image.
Just write. Rodeo saves as you type, so there is no Save button.
Organise your pages
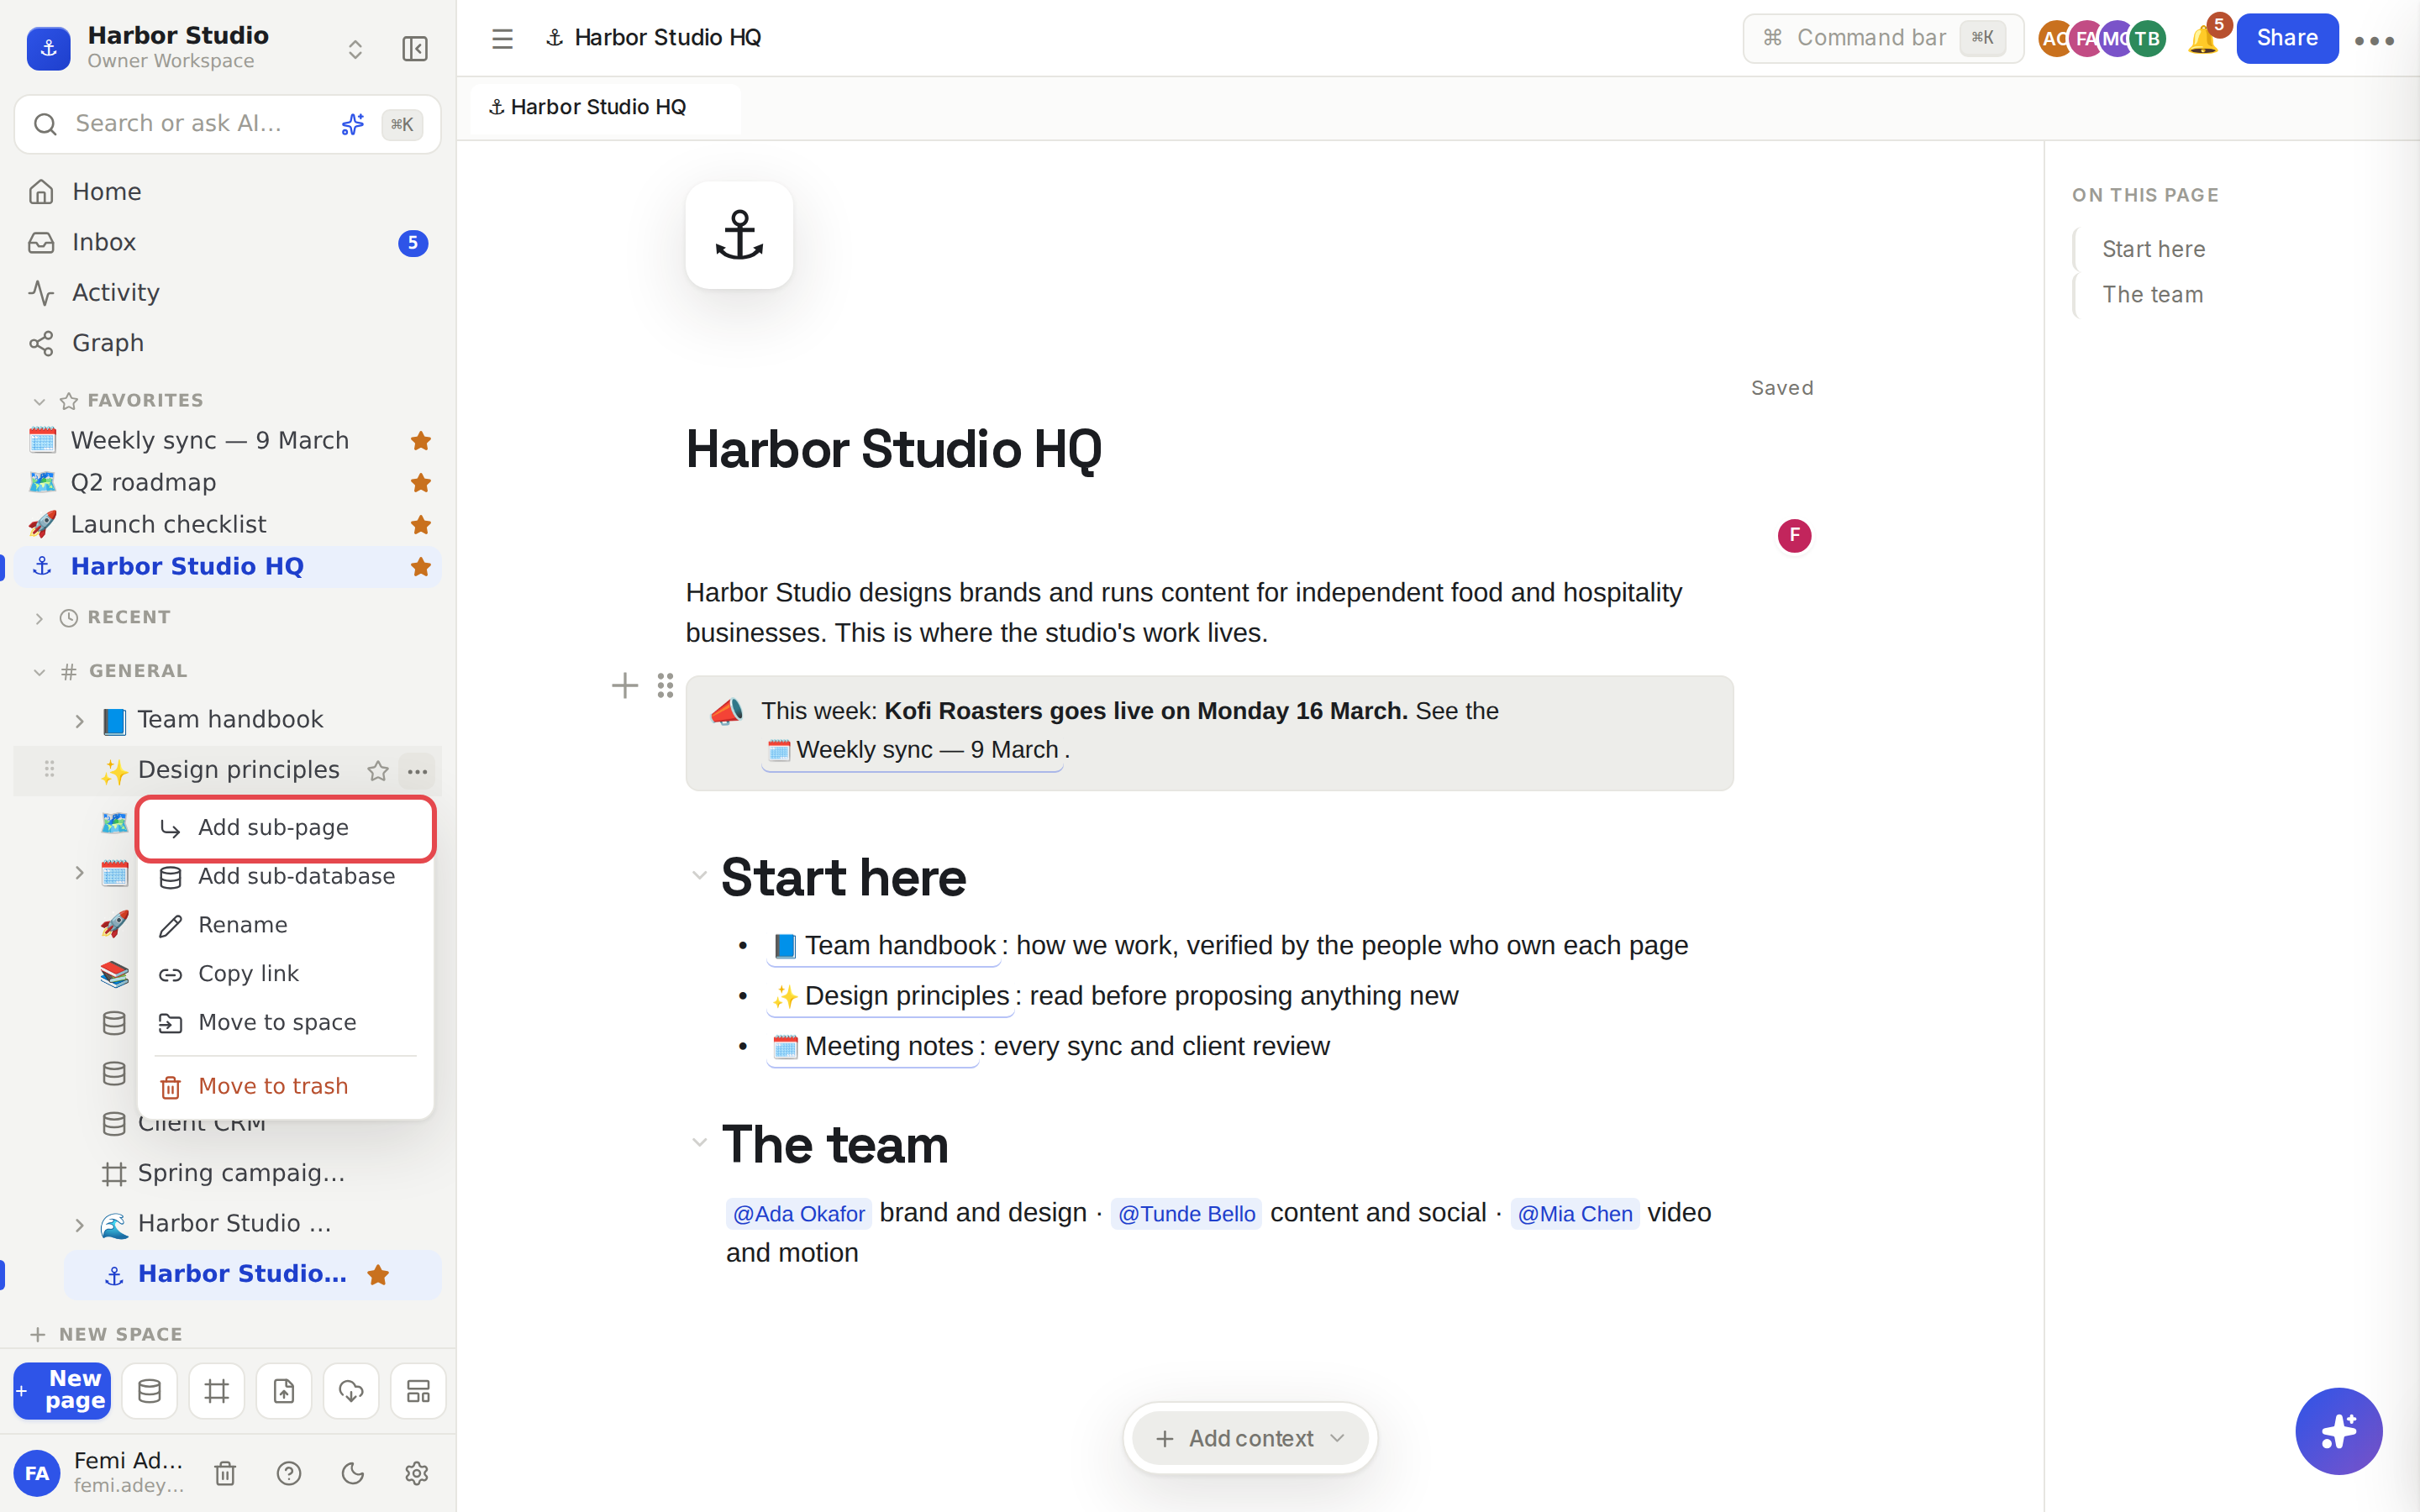
Hover a page in the sidebar and click More actions (the ⋯ button).
Choose Add sub-page to put a new page inside it, or Add sub-database for a database. You can also Rename, Copy link, Move to space or Move to trash from here.
Drag pages in the sidebar to reorder them or drop one inside another.
Click the star next to a page, Add to favorites, to pin it under Favorites at the top of the sidebar.
Tips and limits
Pages nest as deep as you like. A page can hold sub-pages, which hold their own. Learn more in Pages and nesting.
Start from a template instead of a blank page: an empty workspace's Home offers start from a template, and Browse templates sits under Create. See Templates.
Spaces group pages by team or topic, each with its own access. Every workspace starts with one. See Spaces.
More than one workspace. Open the workspace menu at the top of the sidebar and choose New workspace to keep, say, a client project separate.
Members. The Free plan covers up to 3 members, Starter 10 and Team 50; Business has no member cap. See Plans and limits.
Deleted something by mistake? Pages you move to trash can be restored. See Trash.
Ideas
A studio HQ page. Make one page called "Harbor Studio HQ" with this week's focus, links to the client CRM and the handbook, and add it to favorites so it's one click away for everyone.
One page per client. Create "Kofi Roasters", then add sub-pages for the brief, meeting notes and the launch plan, so everything about a client sits under one name.
A team handbook from day one. Pick 📚 Team wiki during setup, then write a "Team handbook" page with sub-pages for onboarding, tools and rituals. Later, turn it into a verified wiki. See Wiki and page verification.
Troubleshooting
I skipped setup. Can I get it back? The welcome only appears once, but everything in it is available later: rename the workspace in Workspace settings, and invite people from Members & settings at the bottom of the sidebar.
My teammates don't see my page. Check which space it's in and who can see that space, or share the page directly. See Sharing and access requests.