Table view | Rodeo Docs
The table view shows a database as a spreadsheet: one row per page, one column per property, every cell editable in place, so it's the fastest way to fill in and tidy up data.
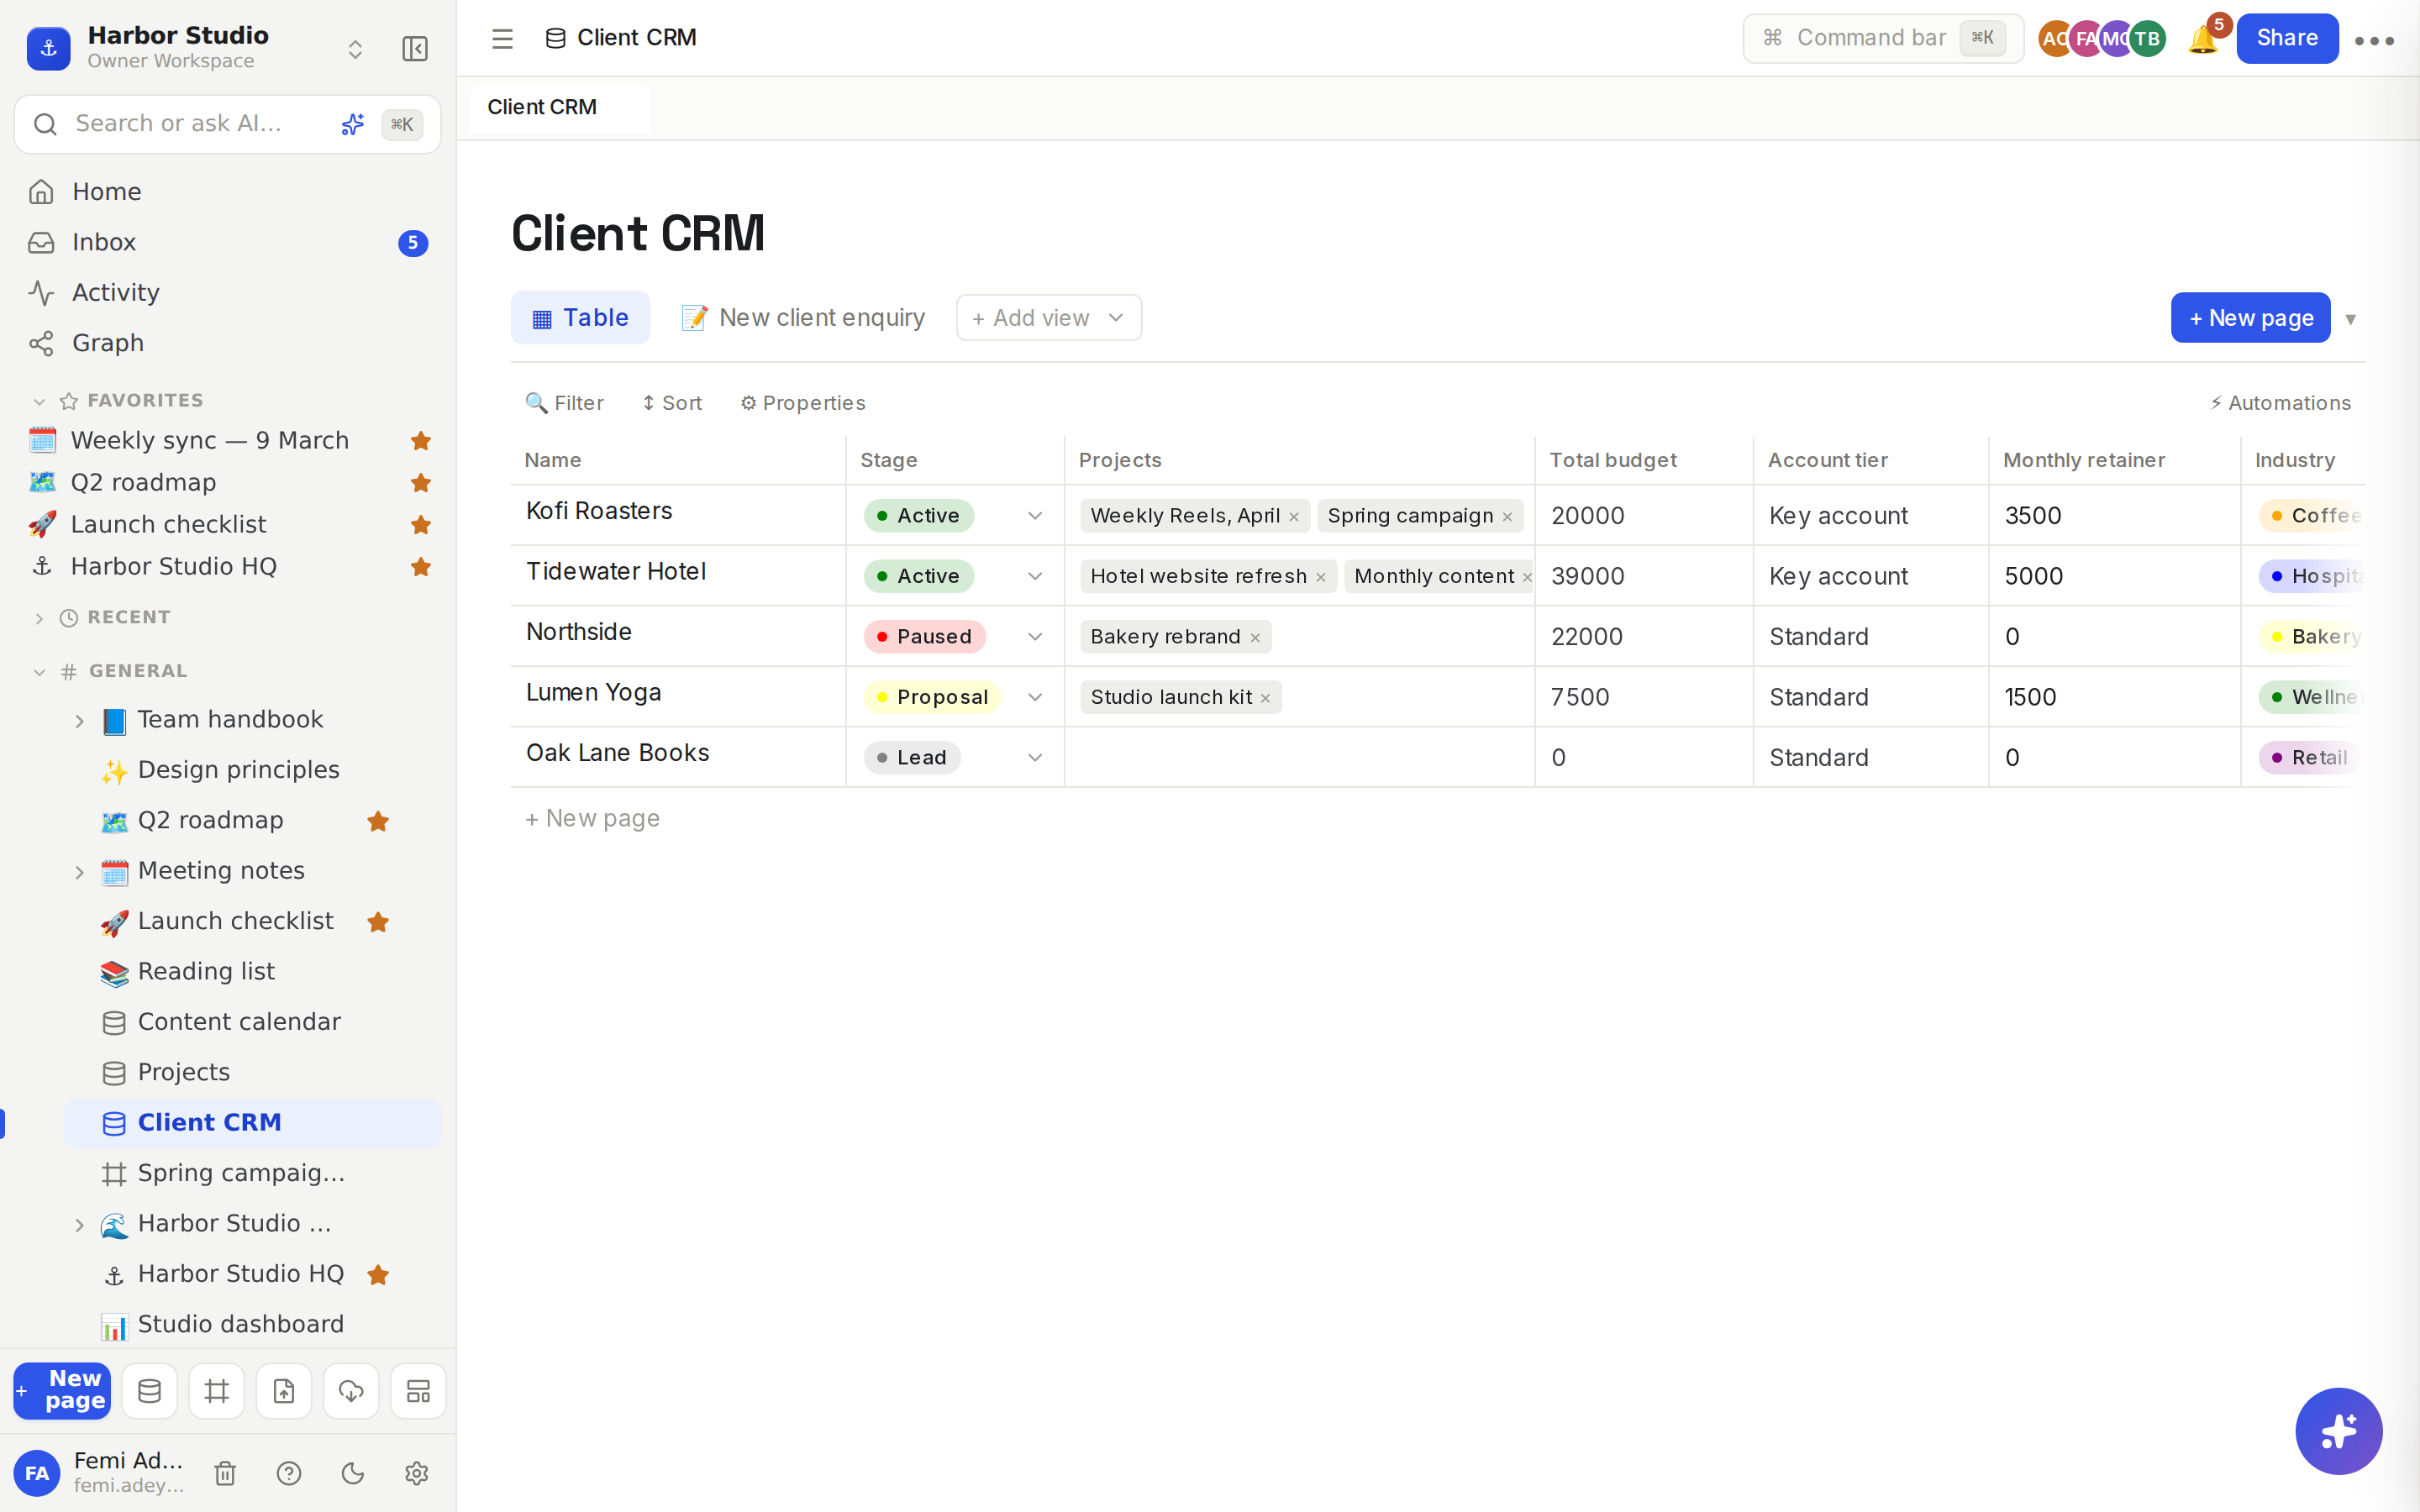
Every new database starts with a table view called Table. Add more with + Add view → ▦ Table, for example one table of everything and another of only this week's work.
Do it
Edit cells
Click a cell and type. Text wraps inside the column, and long text shows in full when you hover it.
Press Enter or click away to save. In a text cell, Shift+Enter adds a new line.
For a select or status, click the cell and pick an option, or choose New option… to add one. Multi-select, person and relation cells show a + tag, + person or + link button when you hover them; click a chip's × to remove it.
For files, click + file and pick one or more images.
Formula, rollup, created and last-edited cells fill themselves in and can't be edited.
Add and open rows
Click + New page at the top right, or under the last row.
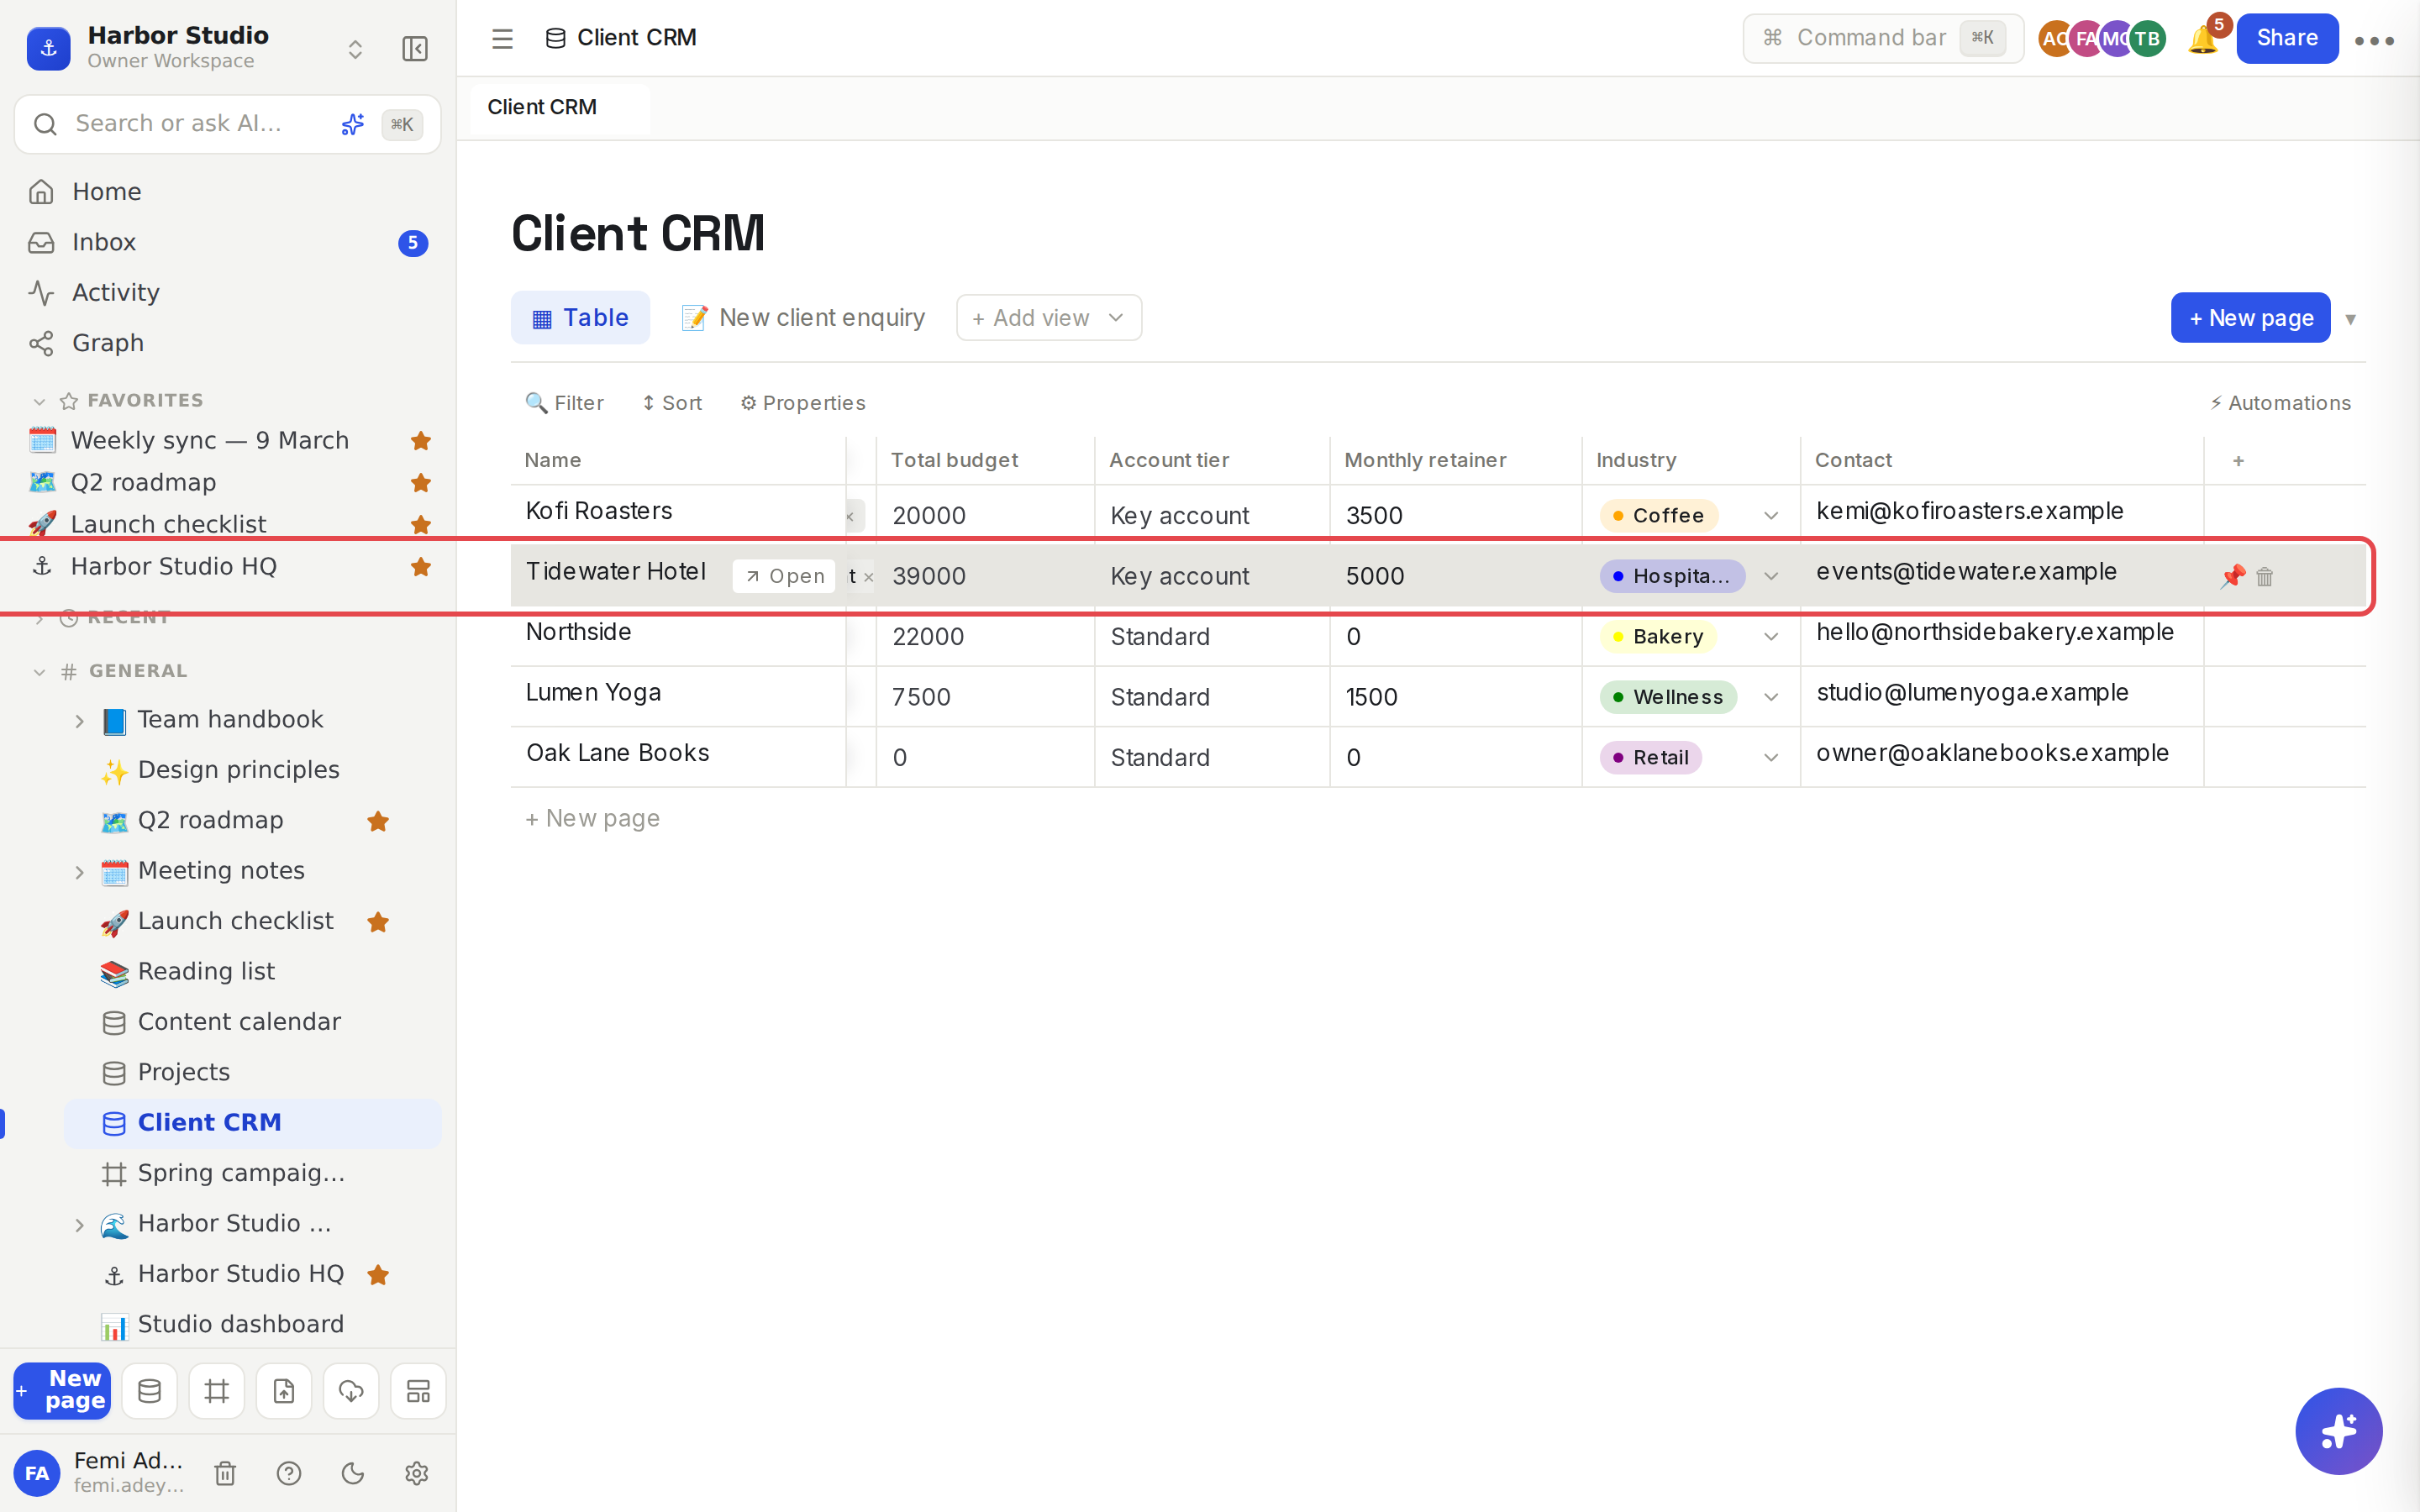
Hover a row and click Open at the right of its title to open the row's page in a side panel. ⌘-click (Ctrl-click on Windows) Open to go to the full page instead. See Row pages and row templates.
Row actions
Hover a row to see two buttons at the end of it:
📌 Save as template saves the row's property values as a template for new rows.
🗑 Delete row deletes it, with an Undo in the message that follows.
Arrange columns
Resize: drag the right edge of a column's header.
Reorder: drag a column's header onto another column.
Show or hide: click ⚙ Properties in the toolbar and tick the properties to show.
Edit: click a column's name to rename it, change its type or options, or delete it. See Properties.
Add: click + at the end of the header row.
Widths, order and hidden columns are saved on the view, for everyone, so another view of the same database can be laid out differently.
Tips and limits
The title column stays put. The first column, the row's name, is pinned to the left while the others scroll sideways under it, and it can't be moved, retyped or deleted.
The header stays visible as you scroll down a full-page table.
Columns are at least 80 pixels wide. On narrow screens they start narrower, so more fits before the table scrolls sideways.
Thousands of rows are fine. The table loads 100 rows at a time and fetches more as you scroll.
Filters and sorts sit in the toolbar above the table. See Filters, sorts and grouping.
No grouping in tables. To see rows in groups, use a Board view.
The table view works on every plan.
Ideas
A Monday clean-up table. Duplicate the main table, filter it to rows with an empty Owner, and assign the week's work in one pass.
A CRM you can scan. Put Stage, Projects, Total budget and Account tier first, hide the rest, and the whole client picture fits on one screen.
A budget sheet. Add a number column for each cost line and a formula for the total, then use a Chart view to see where the money goes.